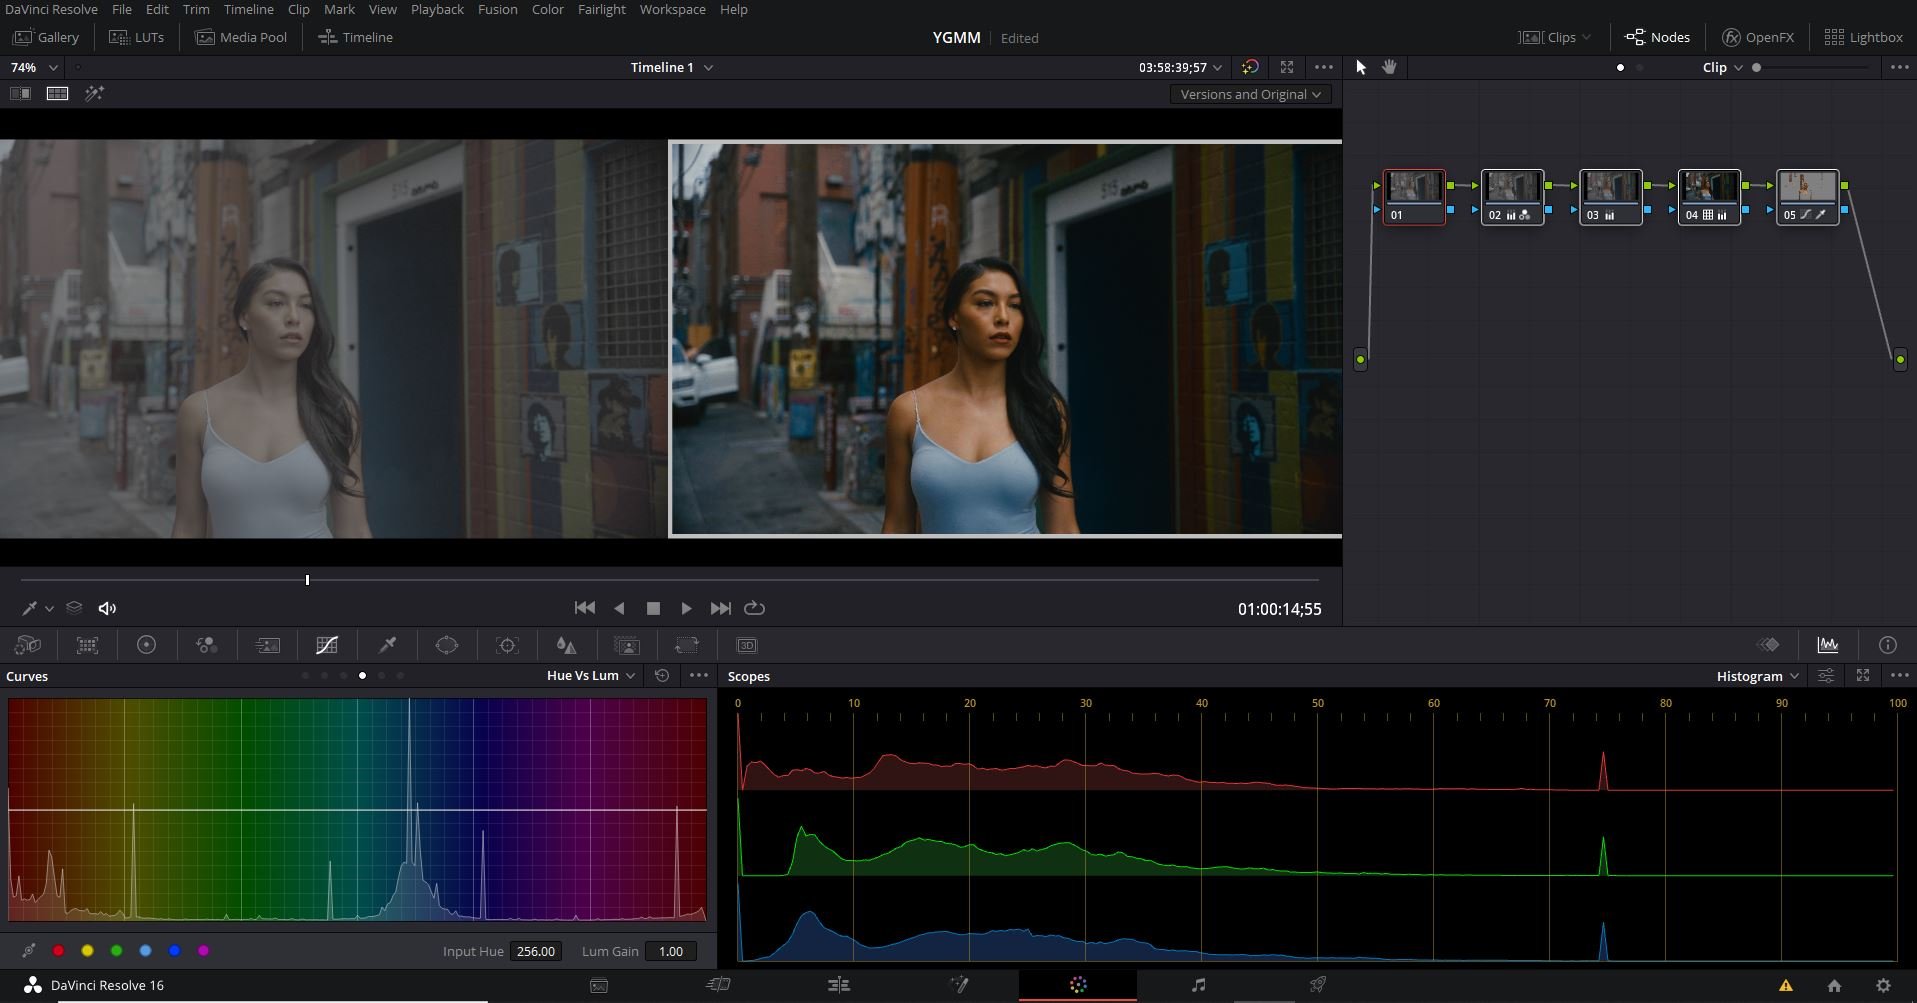
Log Footage: The Warm Up
For those unaware of what color grading is, don’t fret. Its the application of a coordinate colorway to a video to influence the perceived style. Before you can get to the fun stage of diving into a color correction and non-linear video editing application such as Da Vinci Resolve, Adobe Premiere, or Final Cut Pro you need to capture the log footage appropriately. Take everything you learned about Lighting, Camera Angles, and Framing to set the scene. Next, we need to dive into setting up the camera for taking Log Footage. The goal of Log footage is to capture highlights, shadows, and mid tones with the greatest latitude possible by leveraging the dynamic range of a given camera. The colors, however, are absent in this recording profile. As a result, color grading the Log footage in post-production is required to construct a proper image.
DaVinci Resolve
Each of the major camera brands has proprietary log color profiles.
Panasonic: V-LOGL or Cinelike D
Sony: S-Log (preferably S-Log2 or S-Log3)
Canon: C-Log or Canon Log depending on the System Model
DJI UAV Drones: D-Loge
Nikon: N-Log
Fujifilm: F-Log
Here are a few things to consider on your next shoot to get the best Log-Format Footage you can:
Elect for Higher Color Bit Depths - If available set your footage to shoot in the highest color bit possible 10bit over 8bit to expand the available color information in the highlights and shadows to minimize the potential of artifacts and banding in the roll-off edges. Reference the color table to see the difference in visible light (color spectrum) for the different color bit depths.
Use Color Checker Cards - Colors are reproduced in a variety of ways depending on the lens, camera system, and sensor used. Variable lighting conditions further change these pairings. These can frequently generate hues that are discordant with how our eyes perceive color. Using a color checker in scenes serves as an accurate color reference, allowing postproduction color correction procedures to be more efficient. Many Non-Linear video editing software has the ability to recognize color checker cards and alter footage to match the reference board.
Use Histogram & Exposure Meters - When shooting Log-Format footage I have found the value of Histograms and Exposure meters irreplaceable. The histogram is a graphical depiction of an image or video's tonal range, and its evaluation of the tonal range offers an accurate monitor for exposure metering. The variation of tones on the histogram and represented by the color black on the left end and extends to the color white on the right end. The height of each of the color areas depicts the number of color pixels in a given range (Y-Axis). The X-Axis is labeled below to show the color ranges from Blacks, Shadows, Midtones, Highlights, and Whites. Expose your image to be as far to the Right as possible without overexposing or clipping your highlights (an abundance of white in the image). If you are using an exposure meter consider shooting about 1-2 stops above a zero exposure. This will allow you to retain the maximum amount of shadow detail while respecting the highlight rolloff transition.
